So, you’ve stumbled across the idea of sketching Disney’s most mischievous alien—and you’re wondering, “Can I really learn how to draw Stitch?” Oh, absolutely! Whether you’re a beginner doodler, an art enthusiast, or just a die-hard Lilo & Stitch fan, this guide is your one-way ticket to creating a Stitch masterpiece from scratch.
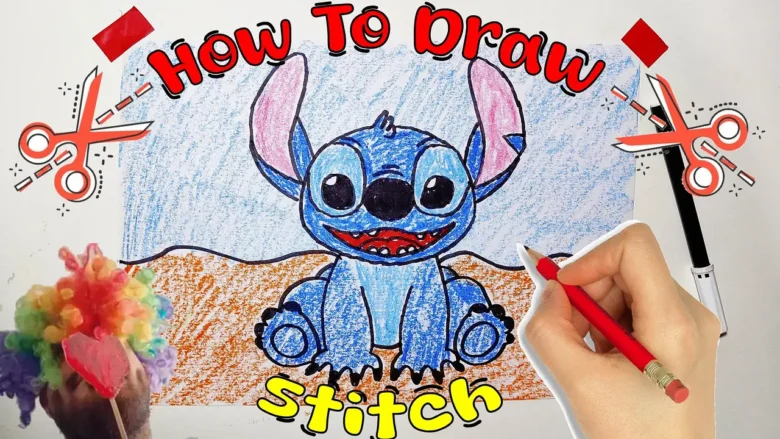
And guess what? We’re not just drawing him—we’re bringing him to life with color too! At the end of this tutorial, you’ll even find a free printable coloring page to continue the fun offline. Let’s dive into the world of sketching, shading, and Stitch-ing!
How to Draw Stitch: Step-by-Step Breakdown
Ready to make Stitch come to life? Let’s break this down step by step, just like we do in the video on the Mimy Art YouTube channel. Follow along carefully, and don’t be afraid to hit pause and rewind if you’re drawing with the video!
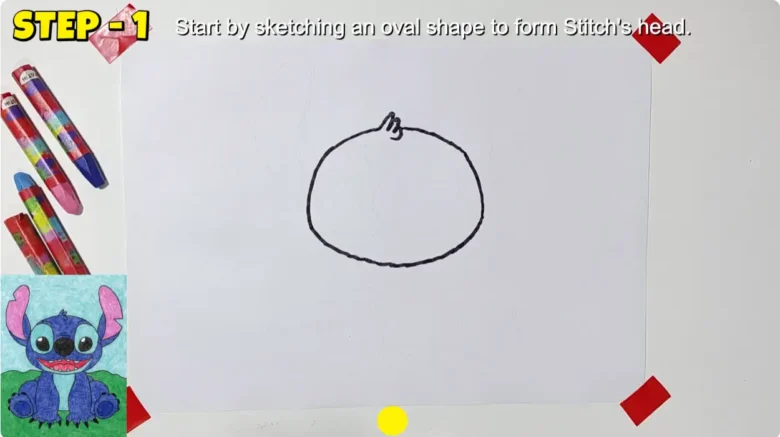
Step 1: Draw an Oval for the Head
Start by sketching a large horizontal oval in the center of your page. This will be Stitch’s head, and trust me—he’s got a big one! Don’t worry if it’s not perfect; it’s just a base.
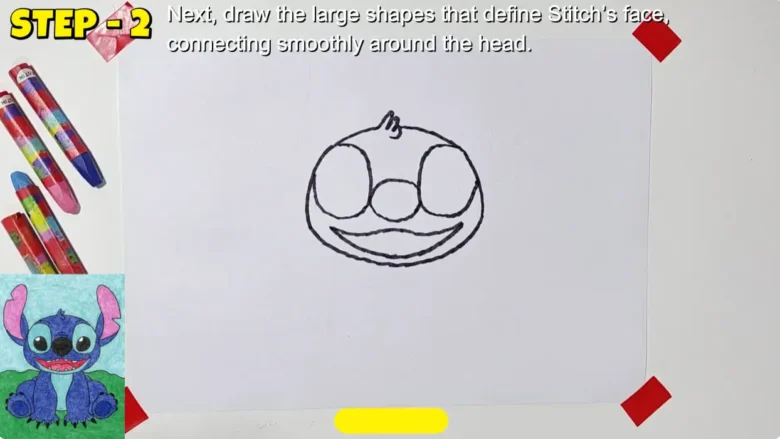
Step 2: Add the Large Face Shapes
Now, it’s time to give that oval some character. Add the large rounded shapes for his cheeks and jaw, making sure they connect smoothly with the head. These will help form his lovable expression.
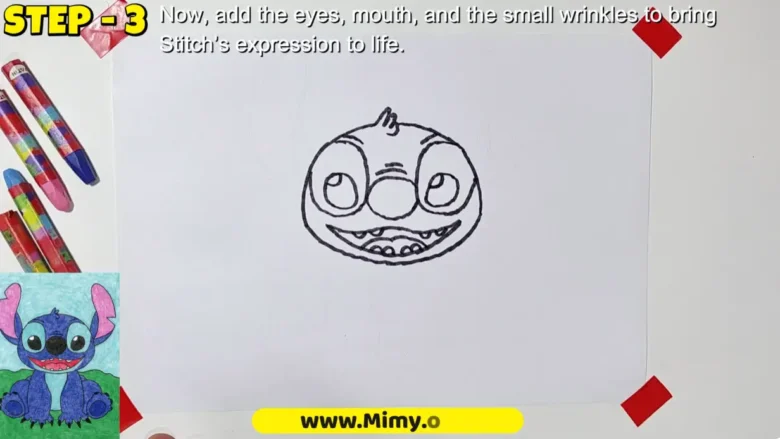
Step 3: Fill in the Eyes, Mouth, and Wrinkles
Time to give Stitch some soul!
- Draw two large, oval eyes. Leave white highlights inside for that signature Disney sparkle.
- Sketch a wide, slightly toothy grin (you know the one).
- Add subtle wrinkles around the mouth and eyes for a dash of personality
Step 4: Add the Hair Squiggle and Start the Ears
Up top, sketch in his little scruffy tuft of hair. It’s a tiny detail, but it adds so much charm! Then, begin drawing those big, floppy ears—Stitch’s most iconic feature.
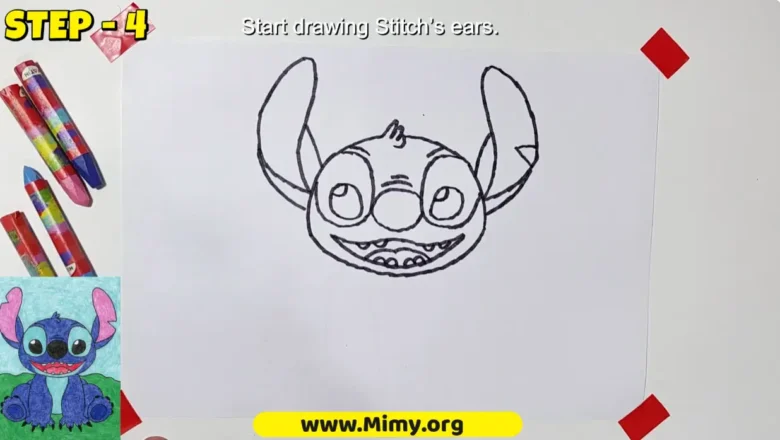
Step 5: Start Drawing the Ears
From each side of his head, draw wide, curved ears that stretch out like wings. Add a bend near the top of each ear for that signature floppy look.
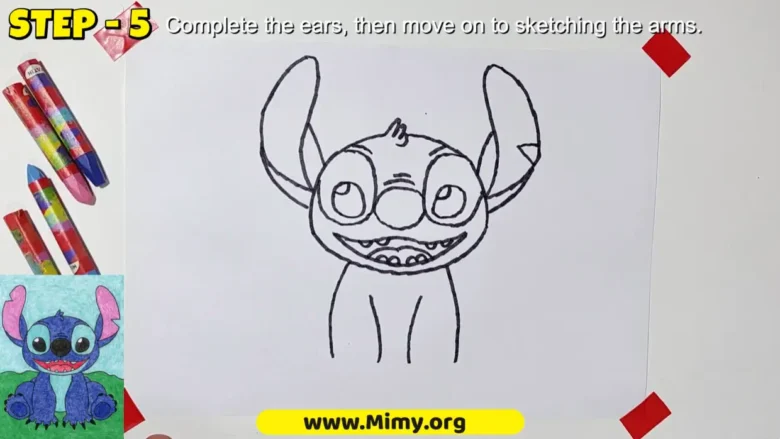
Step 6: Finish the Ears and Start the Arms
Complete the inner and outer lines of the ears, making them look soft and rounded. Then, move down and begin sketching Stitch’s short, stubby arms reaching forward or resting by his side.
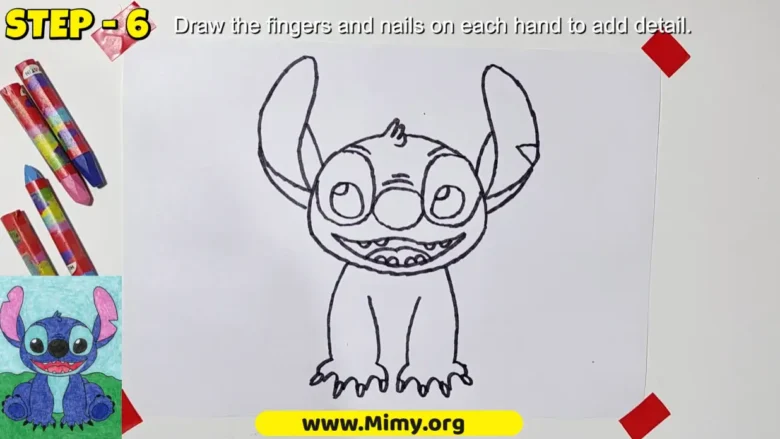
Step 7: Add Fingers and Nails on Each
Stitch has four fingers, and they’re a bit chunky. Add rounded fingers and don’t forget his claws! Just a few short lines will do the trick.
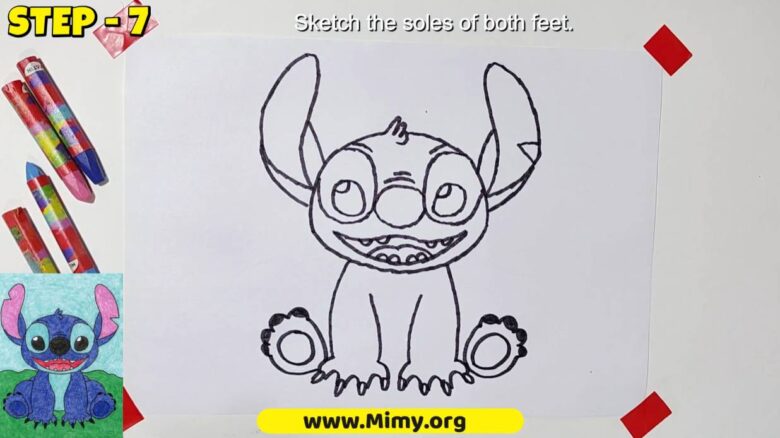
Step 8: Draw the Two Bottoms of the Feet
Time to give our little alien some feet! Draw the bottom pads of both feet poking out beneath him, slightly rounded, and add toe details for realism.
Coloring Time: Bring Stitch to Life!
Now grab those coloring pencils and let the magic happen. Here’s a color guide to keep it classic:
- Body: Sky blue with darker blue patches on the back and around the eyes
- Nose & Eyes: Black (with a shiny white highlight)
- Ears (inside): Light pink
- Claws: Grey or muted black
Take your time, blend if you’d like, and don’t stress perfection. Make it your own!
FAQs About How to Draw Stitch
Do I need to be good at drawing to follow this tutorial?
How long does it take to draw Stitch?
Can I use markers instead of pencils?
Where can I find more tutorials like this?
Conclusion: You’ve Officially Mastered How to Draw Stitch! 🖌️
Well, there you have it! You’ve just learned how to draw Stitch from scratch—line by line, ear by floppy ear. Whether you drew along with the video or followed this written tutorial, pat yourself on the back. You brought one of Disney’s most beloved characters to life with nothing but a pencil and your own creativity.
Be sure to share your artwork with friends, family, or even on social media (don’t forget to tag #MimyArt!). And if you loved this guide, don’t forget to like, subscribe, and check out the rest of the art tutorials on my channel.
Until next time—keep drawing, keep smiling, and keep adding color to your world. 🎨