How to draw Troll Face ?
Learn how to draw the troll face with this comprehensive and easy-to-follow step-by-step guide. Master the techniques and create your own humorous and iconic troll drawings. Let's dive in!
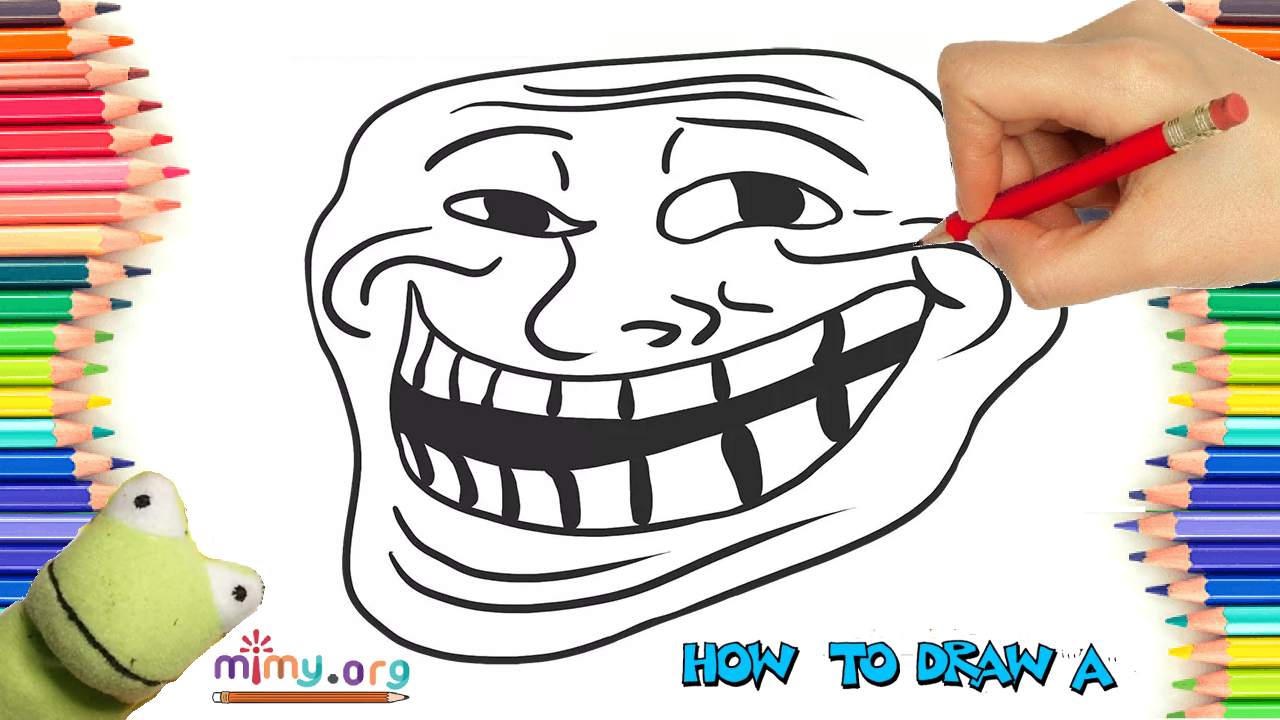
Have you ever come across a humorous meme or an Internet troll post featuring the iconic troll face? This distinctive image has become synonymous with online mischief, and now you can learn how to draw it yourself! In this step-by-step guide, we will explore the process of creating the troll face, from its mischievous grin to its signature eyes and hair. Whether you want to express your sense of humor or simply appreciate the art behind the trolls, this tutorial is perfect for both beginners and experienced artists. So grab your pencil, prepare to embrace the silliness, and let’s dive into the world of drawing the troll face! ? Easy Drawing İdeas
Materials You’ll Need
Before we jump into the tutorial, make sure you have the following materials at hand:
- Drawing paper or sketchbook
- Pencil (preferably a mechanical or HB pencil)
- Eraser
- Fine-tip black marker or pen
- Colored pencils or markers (optional, for adding extra flair)
With these basic materials, you’ll be ready to unleash your creativity and bring the troll face to life!
How to draw? (video)
Step 1: Outlining the Face
To begin, lightly draw an oval shape in the center of your paper. This will serve as the foundation for the troll face. Don’t worry about making it perfect—remember, trolls are known for their imperfections and quirky appearance!
Step 2: Adding the Eyes
Now it’s time to give the troll face its mischievous gaze. Starting from the top of the oval, draw two large, oval-shaped eyes. Make sure to leave enough space between them for the rest of the facial features. You want to capture that characteristic look of mischief and amusement!
Step 3: Shading the Eyes
To add depth and personality to the troll face, shade the eyes. Begin by coloring the inner part of each eye completely black. Then, leaving a small white highlight, shade the rest of the eye using your pencil or fine-tip black marker. This will give the eyes a three-dimensional appearance.
Step 4: Creating the Grin
The troll face is incomplete without its wide and cheeky grin. Starting from the bottom of the oval, draw a curved line that extends outward to each side. Imagine a mischievous smirk or a satisfied chuckle as you shape the grin. Don’t worry about making it perfectly symmetrical—remember, trolls are known for their asymmetry!
Step 5: Adding the Details
To bring the troll face to life, it’s time to add some extra details. Draw a smaller, upside-down U-shape beneath the eyes to form the troll’s nose. Then, draw two small, triangular shapes on either side of the nose to represent the troll’s nostrils. This will give the face a playful and whimsical touch.
Step 6: Defining the Hair
Now, let’s focus on the troll’s signature wild hair. Draw several spiky lines on top of the oval, extending in different directions. Trolls are known for their unkempt appearance, so don’t hold back! Add as many spikes and uneven strands as you like, making the hair as messy and unruly as possible.
Step 7: Inking the Drawing
Once you are satisfied with your pencil sketch, it’s time to ink the final lines. Take your fine-tip black marker or pen and carefully trace over the pencil lines, giving them boldness and definition. This will make the troll face stand out and enhance its overall appearance. Allow the ink to dry before erasing any remaining pencil marks.
Step 8: Coloring the Troll Face (Optional)
To add a vibrant touch to your troll face drawing, you can use colored pencils or markers to bring it to life. Experiment with different color combinations to suit your style and vision. Remember, trolls come in all shades and colors, so feel free to get creative and make your troll face truly unique!
Easy Drawing İdeas
FAQs
Can I use a digital drawing tablet instead of traditional materials?
What if my troll face doesn't look exactly like the iconic version?
Can I use this tutorial to draw other troll faces?
Conclusion
Congratulations! You have successfully learned how to draw the troll face. With practice and creativity, you can now create your own humorous and iconic troll drawings. Remember, the key to mastering any art form is to have fun and experiment. So, keep your pencils sharp, embrace the silliness, and let your imagination run wild as you embark on your troll face drawing adventures. Happy trolling!